Introduction: Embracing the Sourdough Craze
So, what’s the deal with sourdough bread, anyway? Well, besides being downright delicious, sourdough offers a host of health benefits and boasts a unique flavor profile that’s hard to beat. As busy moms, we’re always on the lookout for nutritious, homemade options that fit into our busy lives, and sourdough fits the bill perfectly. Let’s take a peek into sourdough bread making for beginners. I’ll go into more detail in later posts.
Understanding Sourdough Basics
What Exactly is Sourdough?
Let’s start with the basics. Sourdough bread is made using a natural fermentation process, which gives it that distinct tangy flavor and chewy texture. Unlike commercial yeast, which is added to dough to make it rise quickly, sourdough relies on wild yeast and lactobacilli bacteria present in the flour and environment.
In short this process of natural fermentation, which involves the interaction between flour, water, wild yeast, and lactobacilli bacteria works through:
- Capturing microorganisms: When flour and water are combined to create a sourdough starter, they create an environment conducive to the growth of microorganisms present in the surrounding environment. These include wild yeast strains (such as Saccharomyces exiguus) and lactobacilli bacteria.
- Fermentation: As the mixture sits at room temperature, the microorganisms begin to multiply and metabolize the carbohydrates in the flour. The wild yeast consumes sugars in the flour and produces carbon dioxide gas and alcohol through fermentation. Meanwhile, the lactobacilli bacteria produce lactic acid and acetic acid, contributing to the sour flavor of the sourdough.
- Leavening: The carbon dioxide produced by the yeast creates bubbles in the dough, causing it to rise. This natural leavening process gives sourdough bread its characteristic airy texture and open crumb structure.
- Flavor Development: The acids produced during fermentation, particularly lactic acid and acetic acid, contribute to the complex flavor profile of sourdough. These acids give sourdough its tangy taste and contribute to its aroma.
- Maintenance: To keep the sourdough starter active and healthy, it needs to be regularly fed with fresh flour and water. This replenishes the food source for the microorganisms and maintains the balance of yeast and bacteria necessary for fermentation.
Overall, sourdough works by harnessing the power of wild yeast and lactobacilli bacteria to ferment the dough, leaven the bread, and develop its distinctive flavor and texture.
Why Should Busy Moms Bake Sourdough?
Now, you might be wondering, “Why bother with sourdough when I can just buy bread from the store?” Well, besides the satisfaction of baking something from scratch, sourdough offers numerous health benefits. It’s easier to digest, has a lower glycemic index, and contains beneficial bacteria that support gut health—perfect for keeping our families happy and healthy!
Getting Started: Tools and Ingredients
Essential Tools for Sourdough Baking
First things first, let’s talk about the tools you’ll need. Don’t worry; you don’t need a fancy kitchen setup to bake sourdough bread. All you really need is a mixing bowl, a sturdy spoon or spatula, a kitchen scale (trust me, it makes a world of difference), and a Dutch oven or baking stone for that perfect crust. However, if you would like to invest a little more, you can always purchase a Danish dough whisk, banneton basket, bench scraper, and lame. But honestly, for me, the best purchase was the kitchen scales.
Must-Have Ingredients
As for ingredients, keep it simple. All you need is flour, water, and salt. That’s it! Of course, you can get creative and add seeds, nuts, or dried fruits for extra flavor and nutrition, but for your basic sourdough loaf, these three ingredients are all you need.
Creating Your Sourdough Starter
The Heart of Sourdough Baking
Now, onto the fun part: creating your sourdough starter. This magical mixture of flour and water is what gives sourdough its signature flavor and rise. It may seem daunting at first, but trust me, once you get the hang of it, you’ll wonder why you didn’t start sooner.
Creating an active sourdough starter takes at least 7 days, but don’t worry, I’ll walk you through it step by step.
Day one’s pretty simple: grab a jar and mix together ½ cup of filtered water with 1 cup of unbleached flour. Give it a good stir, cover it loosely with a towel, and let it chill until tomorrow.
Now, onto day two: it’s time to give your starter a little TLC. You’ll want to toss out half of it (don’t worry, it’s all part of the process), then weigh what’s left. Feed it with equal parts starter, flour, and water (that’s a 1:1:1 ratio). Stir it up, cover it again, and let it hang out until day three.
Days three through seven are a bit like déjà vu. Repeat the process from day two, discarding and feeding your starter with that 1:1:1 ratio. But here’s the kicker: on days six and seven, you’ll need to feed it every 12 hours instead of waiting a full day.
Mastering the Art of Fermentation
The Key to Flavorful Bread
Fermentation is where the magic happens in sourdough baking. It’s what gives the bread its characteristic tangy flavor and airy texture. But don’t worry; you don’t need to babysit your dough 24/7. With a little planning and some clever scheduling, you can fit sourdough baking into even the busiest of days.
Finding Fermentation Success
One tip I’ve found helpful is to experiment with different fermentation times and temperatures to find what works best for you. For example, I like to do an overnight bulk fermentation in the fridge, which allows me to shape and bake my loaves first thing in the morning—perfect for busy mornings when I have a million other things to do.
Mixing and Kneading Your Dough
The Hands-On Part
Now comes the fun part: mixing and kneading your dough. This is where you get to roll up your sleeves and get your hands dirty (literally). Don’t worry if your dough feels sticky and unruly at first; that’s totally normal. With practice, you’ll develop a feel for it and be shaping perfect loaves in no time.

Shaping and Proofing Your Loaves
Putting Your Artistic Skills to Use
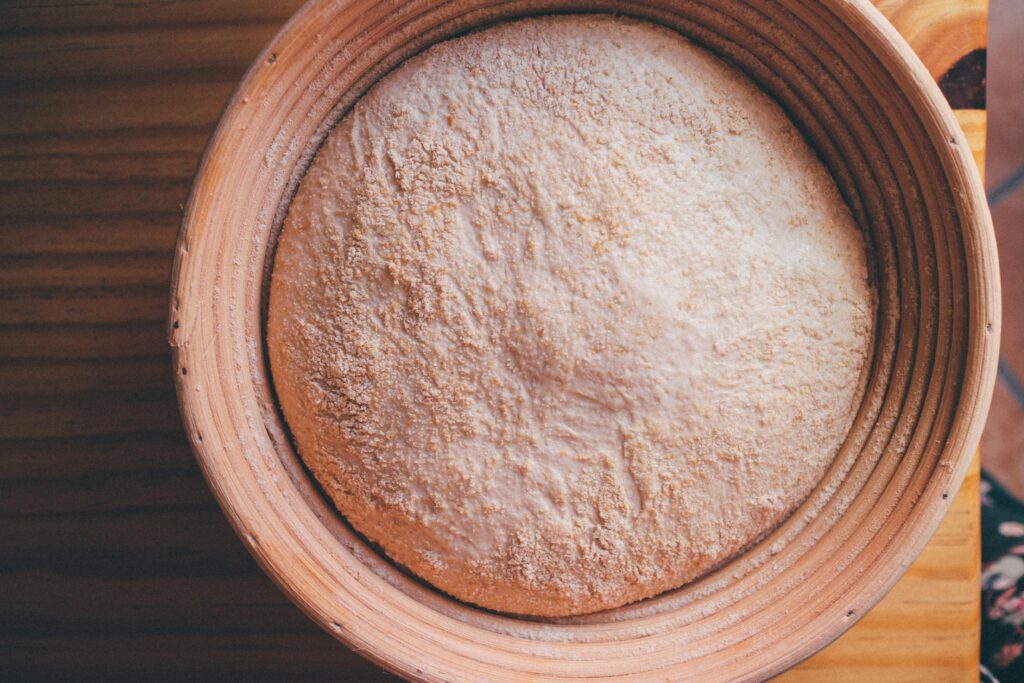
Once your dough is mixed and kneaded to perfection, it’s time to shape it into loaves. This is where you can let your creativity shine. Whether you prefer classic round boules or fancy braided loaves, the choice is yours.
My Shaping Secrets
Shaping sourdough loaves might seem like a daunting task at first, but trust me, you’re not alone in feeling a bit intimidated by it. When I first started baking sourdough, I’ll admit, my loaves came out looking more like abstract art than the perfectly shaped ones you see in bakeries. But here’s the thing: no matter how they look on the outside, what really matters is how they taste on the inside.
So, if your first few
loaves turn out a bit wonky, don’t sweat it. Embrace the imperfections and take pride in the fact that you’re diving into the wonderful world of sourdough baking. And remember, practice truly does make perfect. With each loaf you bake, you’ll gain more confidence and finesse in shaping them just the way you want. So keep at it, experiment with different techniques, and before you know it, you’ll be shaping sourdough loaves like a pro. And hey, even if they don’t look picture-perfect, rest assured they’ll still taste absolutely amazing straight out of the oven.
Baking and Enjoying Your Sourdough Bread
The Moment of Truth
Finally, it’s time to bake your beautiful loaves. Preheat your oven, pop those babies in, and get ready for your kitchen to smell like a bakery. There’s nothing quite like the smell of freshly baked bread wafting through the house, am I right?
My Bread-Baking Bliss
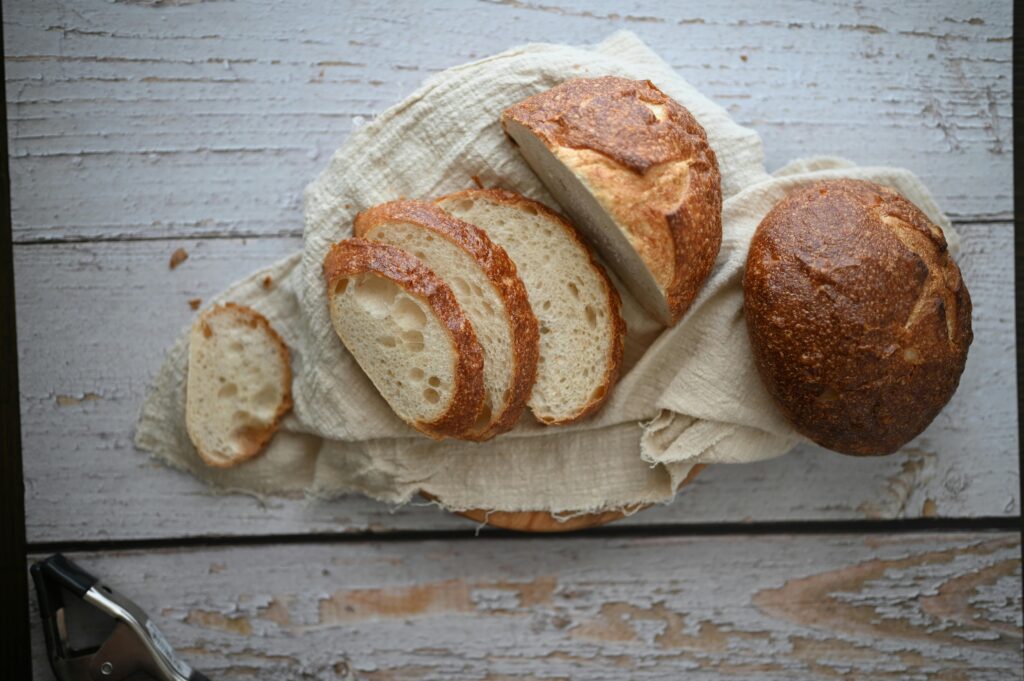
I’ll never forget the first time I pulled a perfectly golden loaf of sourdough out of the oven. The crust was crisp and crackly, the crumb soft and airy—it was sheer perfection. And the best part? My family devoured it in minutes, eating almost a whole loaf in mere minutes.

Troubleshooting Common Issues
Don’t Panic!
Of course, no sourdough baking journey would be complete without a few hiccups along the way. Maybe your loaves come out a bit flat, or the crust isn’t as crispy as you’d like. Don’t worry; it happens to the best of us. With a little troubleshooting and some experimentation, you’ll soon be baking perfect loaves every time. More on this in a later post.
Conclusion: Your Sourdough Journey Awaits!
And there you have it, fellow busy moms: a step-by-step guide to mastering the art of sourdough bread making for beginners. I hope this article has inspired you to roll up your sleeves, dust off your apron, and dive headfirst into the wonderful world of sourdough. Trust me, once you start baking your own bread, you’ll never look back. Happy baking!
Photo credits: Pexel.com
